Showing posts with label in stitches. Show all posts

Saturday, May 31, 2014

in stitches: f-ing the ufos

I came to the sad and somewhat shameful realisation this week that of all the yard projects I've begun in my life, I've completed one.

That's OK, I am clearly a process-over-product type person. I'm quite happy that knitting and crochet serves to warm my icy fingers and steady my chatty mind. But I need to move some of the half-finished products to justify my insatiable urge to buy random balls of yarn and old needles in the op shop.

I present, my unfinished object floor of shame:

Let's go clockwise, shall we? From the top left.

A capped-sleeve dress (Little Sister pattern) in lovely soft 4-ply grey wool. My first attempt at knitting in the round. On the round. Roundways. Whatever it's called. Started in an 18month size. Child is now three.

Some kind of simple baby jumper in op-shopped rainbow yarn. I have no clue what size or when I started that one. Or the pattern.

A scarf? Using two different textured yarns in olive green tones on big needles. I think this was for Grandma.

I have no idea what that is.

A really pretty crocheted cardigan in some op-shopped mohair. Started last winter, cleverly in a size three.

A crocheted scarf for my sister's birthday. Two years ago,

A crocheted rainbow scarf for my friend's birthday in March. Just the ends to sew in. It makes total sense to have started more projects since then.

A baby pram blanket in the most gorgeous buttery yellow cotton yarn. For my son. Who will by nine next week.

A baby onesie I began during the summer I was on holidays and pregnant with my middle guy. I think it was a six-month size. Not sure it'll stretch now that he is nearly five.

I have plans to re-size some, rip others off the needles, and finish some and actually give the gifts. And also start another couple of projects in the meantime, because I know I won't be able to help myself.

Saturday, November 23, 2013

in stitches: kensington pants by terra's treasures tested

I received a copy of the Kensington pants PDF pattern for free to test.

I love a quick, easy sew. My laziness is only matched by my love of quirky, individual design features. Terra's Treasures has just released the Kensington Pants PDF pattern, and I got to take the pattern for a spin, making the shorts version for my small girl. With a sweet yoke waistband, contrast piping and gathered patch pockets, these duds are truly my cup of tea.
Printing, piecing and cutting the pattern were a breeze. The colour-coded sizes were very easy to follow, and the pieces matched up with beautiful precision. I loved the layout of the instructions too, easy to read and follow, with lots of pictures. I used up some peachy-pink chambray from my stash (op shopped) with some vintage sheet floral for contrast. I sewed up the shorts in a size 2, shortening the length a tad and adding a contrast cuff to the bottom. I also made a sweet little top to match, using the free Perennial Dress pattern from Sewpony (this one is super cute too!).


Tuesday, August 27, 2013

in stitches: w pants by blank slate patterns tested

It's a bit rewarding to make things by hand. Sewing clothes for kids is absolutely not cheaper than buying items you can pick up in big stores, but has a largely increased smug-mum factor. Sewing is also more time- and space-hungry, so with my sewing space in disarray and returning to part-time work, it's a good thing there are fabulous PDF patterns getting around.
I was given a copy of Blank Slate Patterns' W Pants to test. As with all Blank Slate patterns, this one is packed with options: three lengths, sizes 12-18months to 8 years, lots of nifty details such as welt pockets, full fly and belt loops.
I have fallen for these patterns. The instructions are so clear, and I love that this patterns suits a range of skill levels. A beginner could pick this pattern up and make the most basic option, then work through the more complex details as their skill set develops. You might know the gorgeous designer of Blank Slate patterns from her blog, Melly Sews.
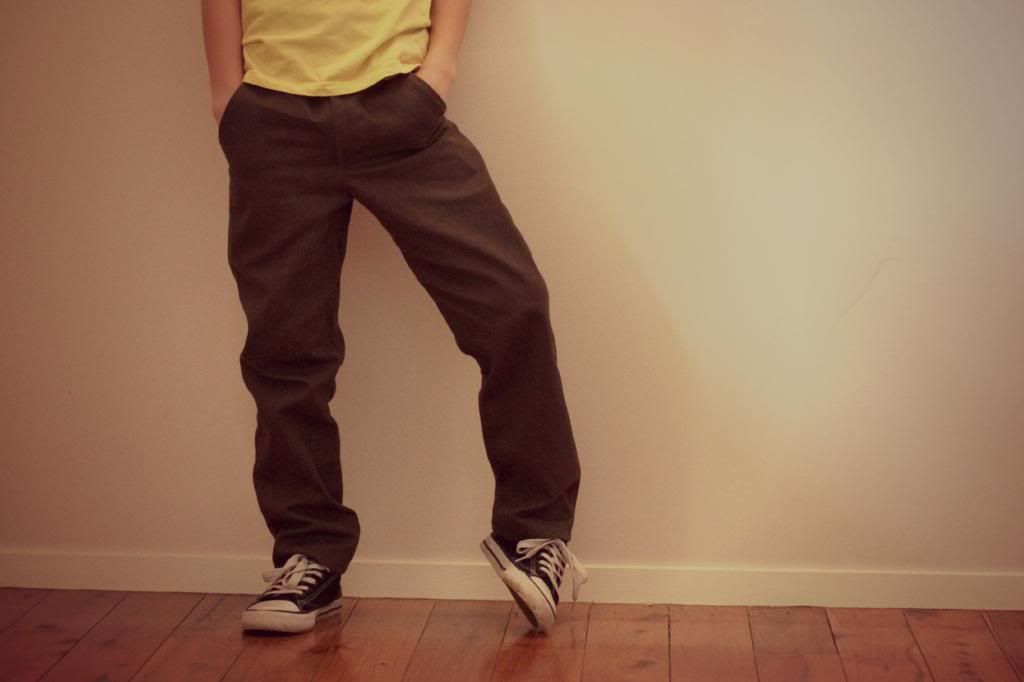
I think my welt pocket version with contrast waist look awesome. I used a cotton drill for the main fabric, and a chevron print corduroy for the contrast.
I will be cracking out this pattern again, there are summer shorts required! Oh, bring on that lovely warm weather, Spring.

Tuesday, July 9, 2013

in stitches: heidi and finn chevron dress pattern review

I have been carefully looking at our consumption of clothing lately as a family. Not really doing anything about it, but feeling rather guilty about grabbing cheap, mass-manufactured garments as our kids grow (and grow and grow!). I walk a fine line, balancing precariously between what our budget allows, and the clear ethics in buying quality and taking more care of it. I have an automated response to kids clothing sale racks in large department stores: grab a couple for now, and a bunch for next year. Especially t-shirts, because knits are so difficult to sew, right?

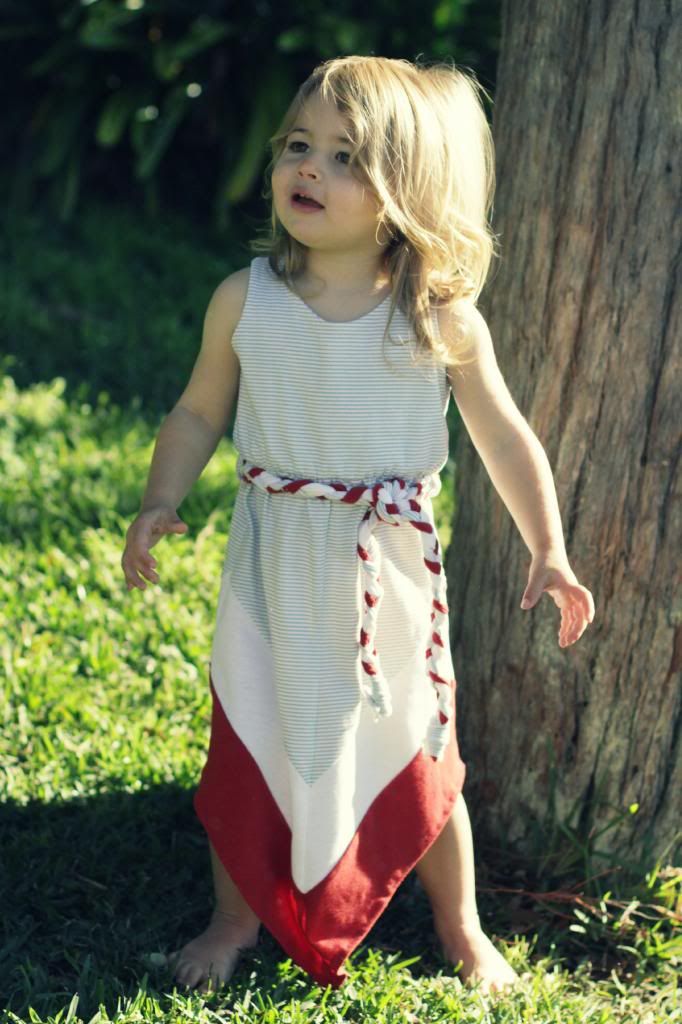
Well sewing up this dress has proven to me the value and ease of sewing easy-to-wear, comfy play clothes for kids, using knits. The Chevron Dress pattern by Heidi and Finn is a fantastic design to cut your knit-sewing teeth on, and the instructions hold your hand right the way through.

The bodice is a simple shape, lined to avoid tricky bindings, and fits comfortably without gaping. I loved the clever way this pattern put the top together.

The skirt features a pieced chevron shape, utilising different coloured or patterned fabrics. I used a soft grey and white stripe, teamed with a rusty red and bright white. There was some very smug self-satisfaction as I pressed the centre-front seam open to reveal a perfectly-matched chevron.

The elastic in the waistband is probably the trickiest part, but once you master using a zig-zag stitch to sew elastic directly into the seam allowance, you will be able to use it in many applications. I like to use a three-step zig-zag stitch and clear elastic for this.

I added a couple of belt loops to the waist as I sewed the top and bottom together. I plaited together three strips of the knit fabrics I used in the dress to make a chunky tie belt. I love the nautical look the colours and the ropey belt give.

So now I am on the hunt for knit fabrics, so I can make all manner of play clothes for the kids. And a couple more cute chevron dresses for the little miss.

Thursday, May 30, 2013

in stitches: heidi and finn downtown hat

PDF sewing pattern received for free for testing and reviewing purposes from Heidi and Finn.

It's starting to cool down here. The beachside breeze is getting colder and decidedly stronger. Hats that cover little ears are in order.

I was lucky enough to be chosen to test Heidi and Finn's new pattern: the Downtown hat. I got stuck in, using a range of stretch fabrics I already had, and had made up four hats in 24 hours. A lightweight green one, two fleece and a check polar fleece. I found the polar fleece the best fabric for this pattern- it has a good amount of stretch, with enough thickness to make the hat look nice and sturdy. I love the way the ordinary fleece sewed up, but would suggest going up a size for this less-stretchy fabric. The interlock fabric was a little trickier to sew, but makes up a lovely light-weight hat perfect for season's change weather. The instructions in the pattern were so easy to follow and provided this stretch-fabric novice much-needed support. I loved the pattern so much I took the kids to the fabric shop and let them choose a print from the polar fleece range. Thirty centimetres of a 150cm wide fleece fabric is ample, and with a half price sale on, each hat cost under two bucks!

And, seriously, how cute do they look?


 Have you been sewing lately? Are you using what you have? Have you ever made a hat?

Tuesday, April 16, 2013

sewing with PDF patterns: Summer Maxi Dress by Heidi and Finn

I was lucky enough to be chosen to receive the Summer Maxi Dress pattern for free as a pattern tester. I haven't received any payment or product for writing this post.

I am a bit old school with my sewing. I learnt to use paper patterns, mostly New Look and Simplicity, Vogue if it was something fancy, at my mum's knee. Cutting out the pieces from the brown wafery paper on our brown carpet. Pinning the pieces to the folded over fabric (right sides together) with the small victory of squeezing the pieces on less fabric than the pattern recommended. Following the instructions, codes and symbols for 'cut on fold' and little triangle matching notches. Later, I studied Textiles and Design through high school, and learned more again from my Home-Ec teacher mother-in-law-to-be. Like cheaty nifty ways to put pants together.

Now back to sewing garments years later, and I wondered what all the excitement was about PDF patterns, which you purchase online and download for instant sewing gratification. I couldn't see the point in paying almost the same amount for a pattern which I then had to print myself. So I stuck to my old school ways.

Then I answered a pattern tester call, on a whim, from the amazing PDF pattern designer, Heidi & Finn. And I got picked! Which was very nice indeed. Here is how I found the process of using a Heidi & Finn PDF pattern, as an experienced sewer, but a PDF pattern novice...
Firstly, when using a PDF pattern, you need the ability to download, view and print it. You may get an instant download upon purchase (like if you buy from Heidi and Finn's new Craftsy store), or you may receive your download via email fairly quickly (remembering that designers may be sleeping when you purchase if you live in different hemispheres). Set up a folder on your hard drive where you keep you patterns, and 'save as' to download. You will need Adobe Reader to view your pattern. I was a little nervous printing, as there is a difference between standard US paper and Australian, but no worries, it printed perfectly. Before you print, check to make sure that your printer scaling setting is set to 'none'.  Check the little one inch square on the first page to make sure the print size is correct.
Next you need to trim and align the pages, and join together. You can either cut out the size you need from here, but I like to keep the initial print as a master, then take a tracing of the size I need on tracing paper, or cheap greaseproof paper. I do this with my paper patterns, too.
Then it's simply a matter of following the instructions provided with the pattern to assemble your garment. And this is where I had my little epiphany about using PDF patterns as opposed to commercial paper patterns. As I was following the Heidi & Finn instructions, it felt to me that I was hanging out with a clever sewing friend, drinking tea and learning some cool new techniques. The steps are clearly written, with very little sewing jargon. There are fabulous photos, clearly linked to the steps, to show you what your progress should be looking like. If I was new to sewing, this Heidi & Finn pattern would be a fantastic start. There is even a tutorial for making your own bias binding! Superb! The Summer Maxi Dress went together very easily. As with all Heidi & Finn patterns, you don't need fancy equipment, and you will have a gorgeous, individual piece.
I was inspired by summery images of my childhood: sunny boys, fringed beach umbrellas and stripy towels. I picked up this lovely beach-coloured stripe cotton and added some crisp white cotton bias binding and pom-pom fringe. If the question is in regards to pom-pom fringe, I think the answer is always 'yes', don't you? I think my little girl enjoyed wearing her new pitty dess.

stuff and nonsense hints for sewing with PDF patterns:
1. Buy quality, especially if you are learning. The instructions will be clearer, the size gradings will be more accurate. You will be more likely to have success and come back for more!
2. Take your time printing to get the settings right. Check and double check before you cut into your fabric.
3. Save your patterns somewhere central by choosing 'save as' rather than sending them into a random downloads folder in the bowels of your hard drive.
4. Read through all the instructions before launching a sewing assault.
5. Trace each size onto tracing paper, keeping the printed pattern as a master. I find the lighter paper much easier to pin to my fabric, and I like knowing I don't have to print each new size.

Friday, February 15, 2013

blatant self promotion with added giveaway

I have a little business. I sew vintage loveliness, specifically bonnets, using real vintage fabrics. I'd love for you to check out a giveaway I am hosting at Tuppenny Lane.
See you there!

Saturday, December 1, 2012

achieved!

Giving myself a virtual pat on the head this week, for getting something done. I've been chipping away at my plan (Stan), and while I haven't really completed any of the items of my list, I feel I'm steadily working towards all of them.

I was very happy to send some handmade Christmas decorations in the mail (deadline- barely met!). The gorgeous Christina did a lovely job pairing people up for the swap. I had an awful dose of performance anxiety, and still am unsure about my decorations. They are a kind of vintage-upcycled take on a bauble, using a vintage cotton spool and embroidery embellishment. I saw that both my ladies were into sewing, so I hope they like them!
I am going to go and get more inspiration for my Handmade Christmas at Creative Spaces. Are you making something festive?

Thursday, November 15, 2012

in stitches: snippety-snip

This week is a bit of a hodge-podge of craftiness.

Learning how to use Fimo, in case it's ever 1986 again. We are making some gifts for the kids' teachers. And maybe for me, too.
 
And putting the plan (Stan) in action. Cutting into some favourite vintage to prepare for a Tuppenny Lane market of summer lovin.
 
Enjoying the creative community at Kidspot today. How is your Handmade Christmas going?

Thursday, November 8, 2012

in stitches: ladylike frock

Some time spent at my machine this week, with something a little different. Something a little ladylike, something a little for me. A new dress to wear to a wedding on the weekend. Some (rather rusty) technique put into practice, a gorgeous vintage pattern and some delightful printed satin all coming together. Almost- just the shoulder seams and hems to finish.


I have been scared of Vogue patterns in the past, but I found this one just fine. I even adapted it to be fully lined, and only confused myself five times. Which is perfectly normal and in no way the fault of the pattern.

In other creative pursuits, these lovely little label arrived yesterday. Next week will be all about the bonnets. Time to get onto some of that plan, Stan.

But first, I have some serious party-dress wearing to attend to.

Will be looking at other creative spaces today, too.

Thursday, November 1, 2012

in stitches: scary cape

Some shiny red and black fabric became a scary vampire cape for my big boy this week, accompanied (naturally) by cake.


How-to: worms in dirt cakes
1. Bake your usual cupcakes and ice generously with chocolate icing.
2. Stick a sour worm into the icing on each cake.
3. Sprinkle with chocolate biscuit crumbles (I used Ripple biscuits that I smashed up with a rolling pin).
4. Eat. Outside.

Looking at lovely creative spaces in this creative month of November.

Thursday, October 11, 2012

in stitches: Bonnie bonnets

I have been reinvigorated, and have been busily finalising the design for my summer Bonnie bonnet, for my little shop Tuppenny Lane. I am very, very happy with the shape and fit, and ready to roll up my sleeves and make a decent amount of them now! These two are heading off for very, very belated (or very, very early- depends if you're a glass-half-full or -empty person) Christmas gifts for two gorgeous baby A's I know.

Modelled by my little E.
 
 
Catching up with the cool creatives over here.

Thursday, October 4, 2012

in stitches: knickerbockers

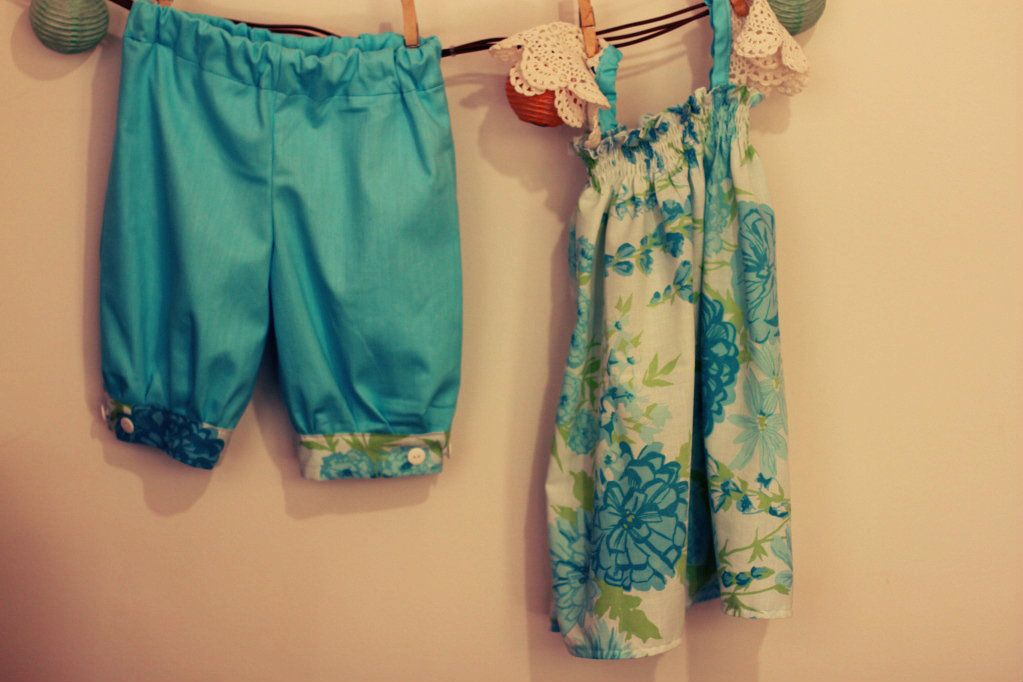
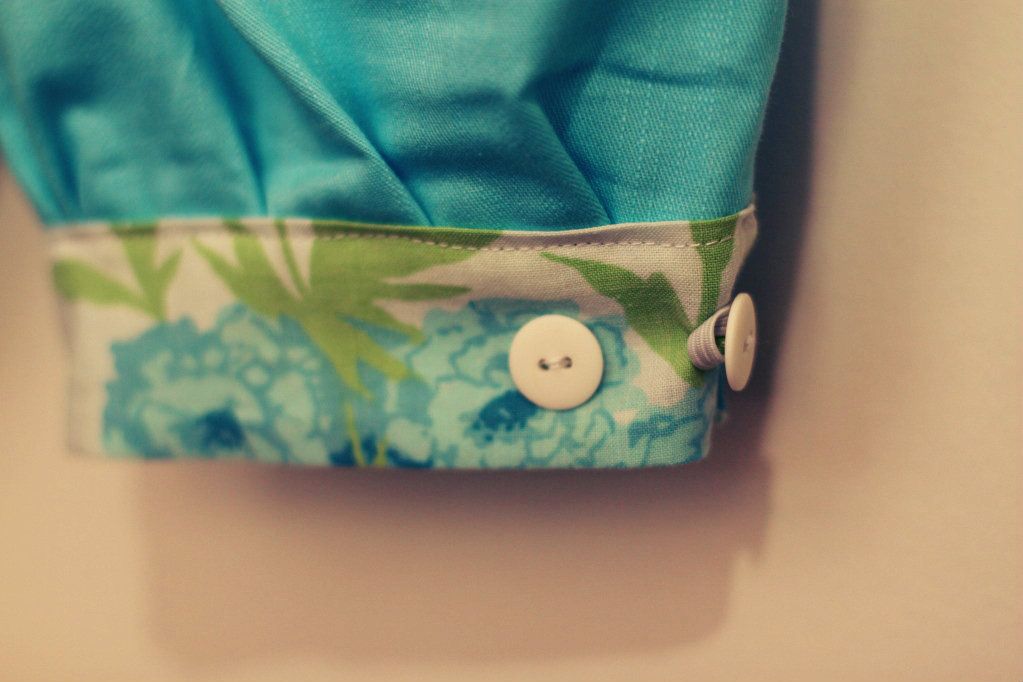
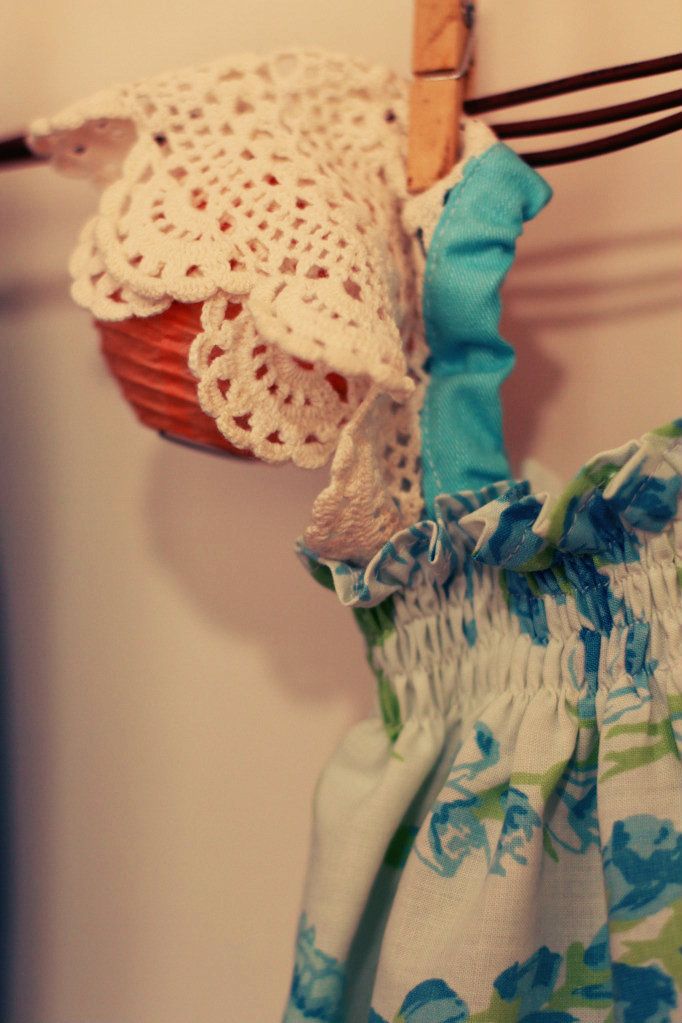
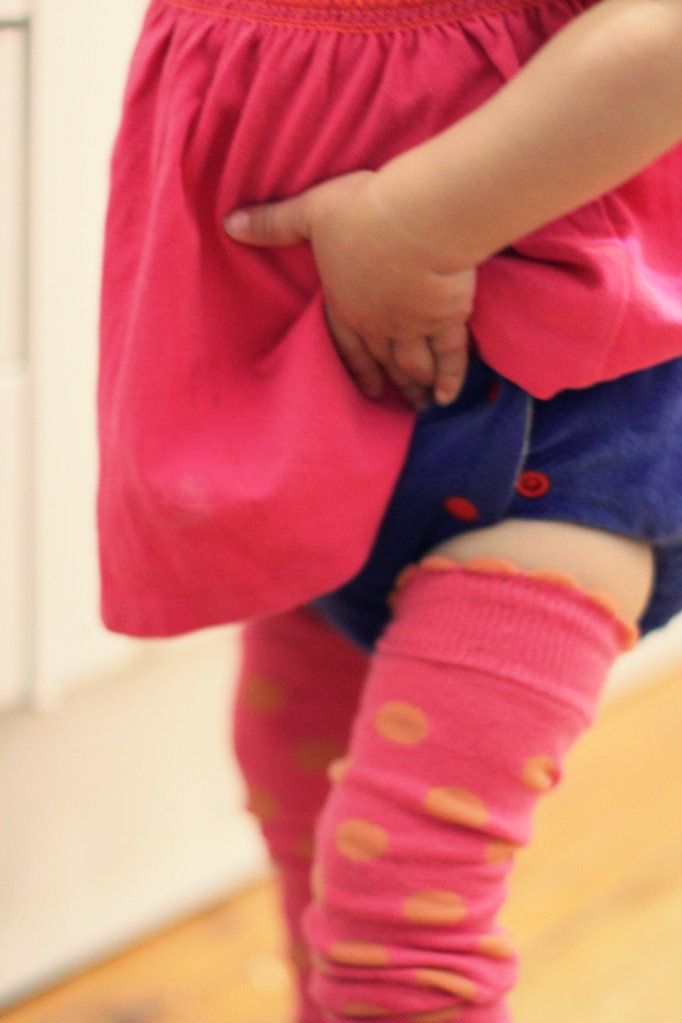
A birthday gift for a little three-year-old girl. Smocked dress with crochet sleeves. Aqua knickerbockers with vintage fabric trim. Two buttons on the cuff mean the pants can be worn below the knee, or above. Perfect for exploring rock pools. Got my tiny brain whirring to make the short even more gorgeous- perhaps a flat-front waistband with a tie on the next ones. Definitely a pocket for collection of sticks, rocks and shells.
Looking at lovely creatives over here, today.

Friday, September 28, 2012

in stitches: nappy stash

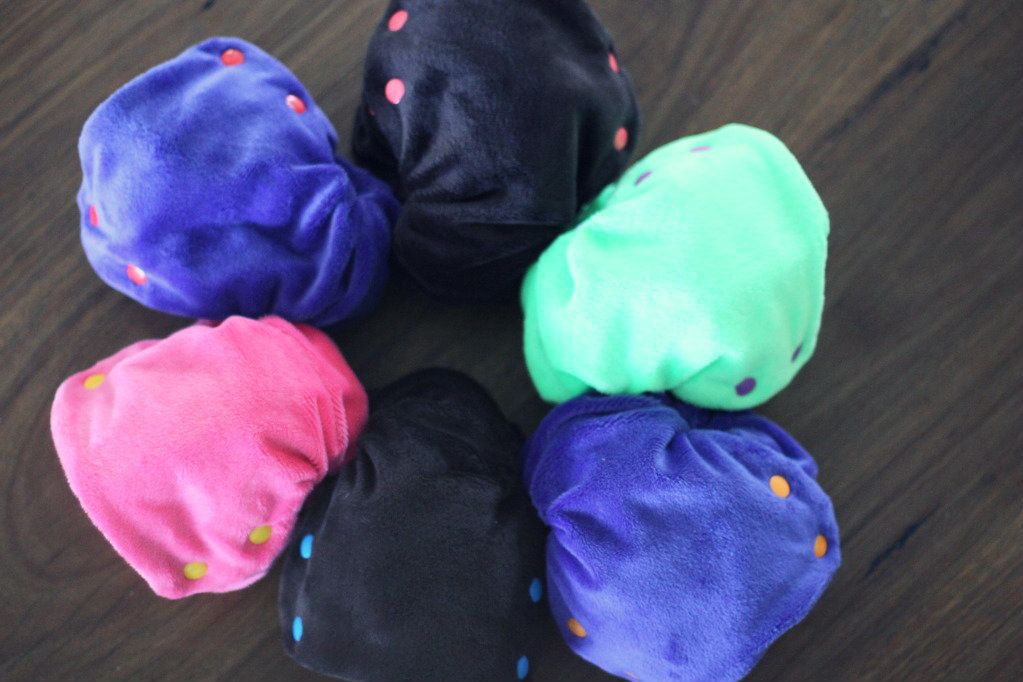
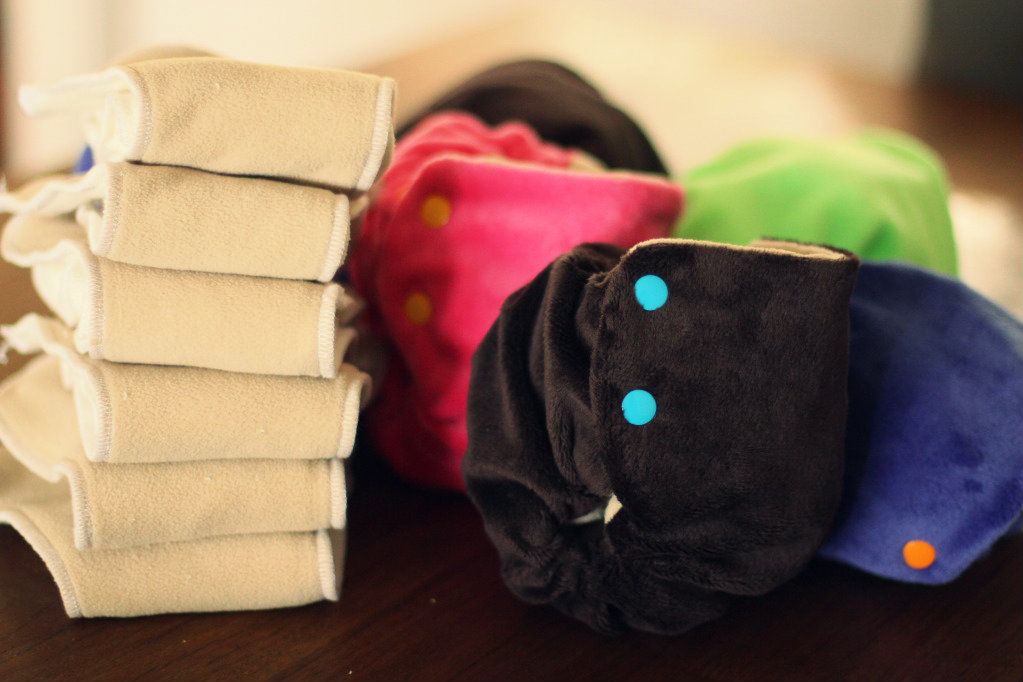
So much joy in working at the machine this past week. Lots of projects going, the lounge recovery continues, a birthday gift for a little girl, but first, I had to get these fitted nappies done for my girl.


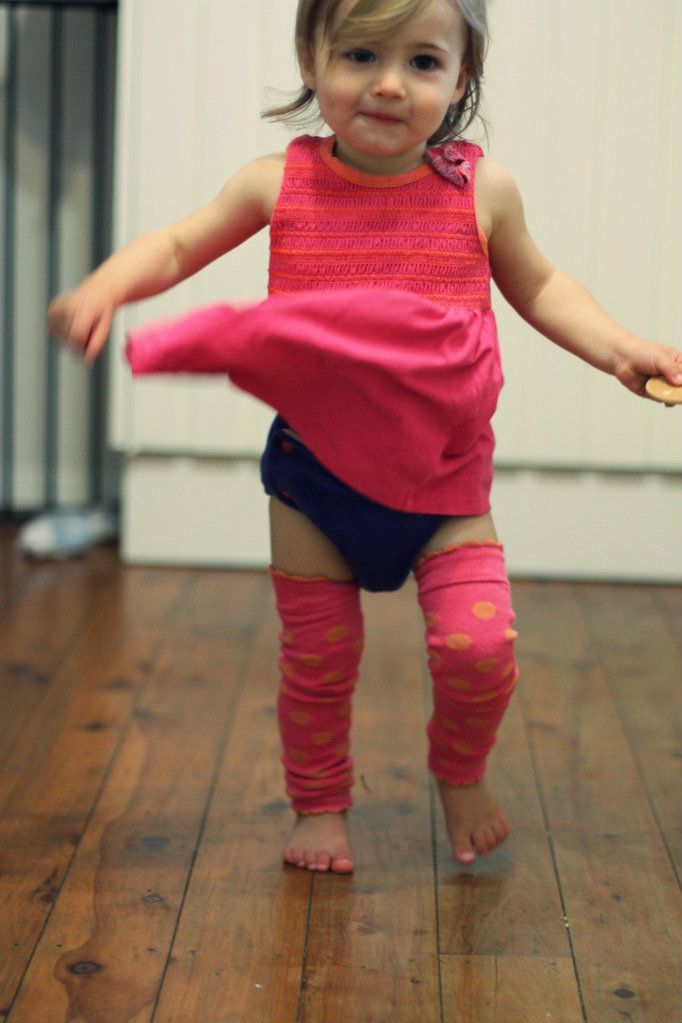
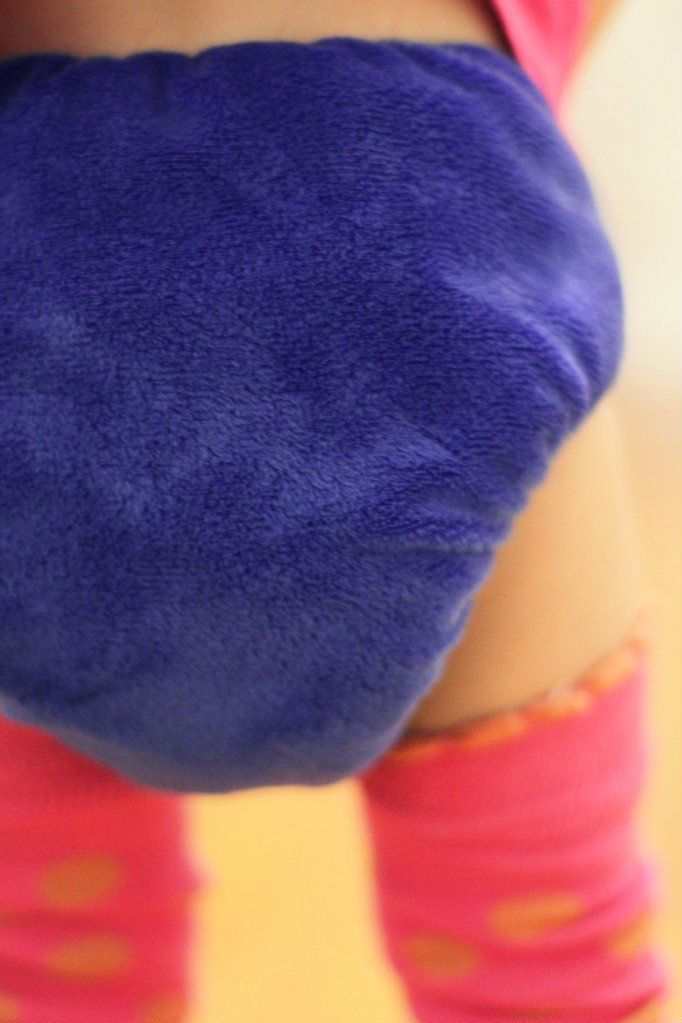
Details: fitted cloth nappy using the Fattycakes pattern (modified). Minky outer, hidden PUL layer and polar fleece liner. Ridiculously absorbent bamboo snap-in soaker. Materials from Greenbeans Australia. Playing around with the idea of pursuing a more creative career, giving my little shop a real, red-hot go. Maybe these could be a new 'line'?
 
Looking to see what the cool kids are doing, over here. 

LinkWithin

Related Posts Plugin for WordPress, Blogger...