Showing posts with label frugal and funky. Show all posts

Thursday, May 30, 2013

in stitches: heidi and finn downtown hat

PDF sewing pattern received for free for testing and reviewing purposes from Heidi and Finn.

It's starting to cool down here. The beachside breeze is getting colder and decidedly stronger. Hats that cover little ears are in order.

I was lucky enough to be chosen to test Heidi and Finn's new pattern: the Downtown hat. I got stuck in, using a range of stretch fabrics I already had, and had made up four hats in 24 hours. A lightweight green one, two fleece and a check polar fleece. I found the polar fleece the best fabric for this pattern- it has a good amount of stretch, with enough thickness to make the hat look nice and sturdy. I love the way the ordinary fleece sewed up, but would suggest going up a size for this less-stretchy fabric. The interlock fabric was a little trickier to sew, but makes up a lovely light-weight hat perfect for season's change weather. The instructions in the pattern were so easy to follow and provided this stretch-fabric novice much-needed support. I loved the pattern so much I took the kids to the fabric shop and let them choose a print from the polar fleece range. Thirty centimetres of a 150cm wide fleece fabric is ample, and with a half price sale on, each hat cost under two bucks!

And, seriously, how cute do they look?


 Have you been sewing lately? Are you using what you have? Have you ever made a hat?

Thursday, January 17, 2013

in season: peach, mango and vanilla jam

Yum. Born out of the need to use up some on-the-way-out stone fruit from the fruit bowl, this jam was a bit experimental but worked a treat, and is deliciously sweet and tropical.


Grab these:
some peaches and mangoes- I started with about 7 peaches (some white, some yellow) and 2 mangoes
castor sugar
water
lemons
water
a big pot
kitchen scales
juicer
sharp knife

Do this:
1. Begin by preparing your fruit. Cut the mango flesh away from the skin and stone. Bob the peaches, with a cross cut into their bottoms, for a few minutes in boiling water. Peel the skin away (mind your fingers) and cut up flesh into small chunks. Weigh your prepared fruit- I ended up with about 700grams.
2. Work out how much sugar you need, based on a ratio of about 6 parts fruit: 5 parts sugar. I used about 500grams sugar because I'm not good at maths. Pop your sugar and fruit into your big pot.
3. Work out how much liquid you need, based on around 1/2 cup per kilo fruit. I juiced two lemons, then added water to make about 1/3 cup. Add this to the pot too.
4. Add vanilla extract (or the scrapings from a vanilla bean) to the mix to taste.
5. Slowly bring to the boil on medium heat to dissolve the sugar.
6. Boil gently until jam has reduced and is set. You know how to test jam, right? Put a couple of saucers in the freezer when you start. When you think your jam is ready, and the mix plops off the spoon in one continuous blob rather than dribbles in a liquid fashion, drop a small blob on your cold saucer. after a moment, run your finger through the middle of the blob. If it parts the blob, and the jam stays apart, it's ready!
7. Decant into hot, sterilised jars. I wash my (recycled) jars in hot, soapy water and rinse well. Then I place the jars and lids (up the right way) on an oven tray covered with a tea-towel. Then the jars sit in a lowish oven (150 degrees Celsius, fan-forced) for about 30mins. Put the lid on you filled jar, then upend the jar to sit on its head for just a few minutes. If you turn the jar right-side up again, before it starts to cool, you should be able to pop the seal in with your finger. This recipe made two-and two-thirds average sized jam jars. The recycled jars sealed beautifully, but the fancy-pants jar I bought new spilled when I tipped it upside-down. I think it's more of a preserving jar, perhaps.

Thanks to the Rushleigh- The At Home Chronicle for the great information about sugar, water, fruit ratios.

Do you have a stock or store cupboard at your place? Are you busy preparing summer fruits to enjoy later? I'm excited at the thought of some summery flavours to have on toast in winter. And after the success of my arancello, have plans to make some summery liqueur. What do you think- stone fruits or summer berries?

Wednesday, November 28, 2012

can ya dig it? or is it un-palette-able?

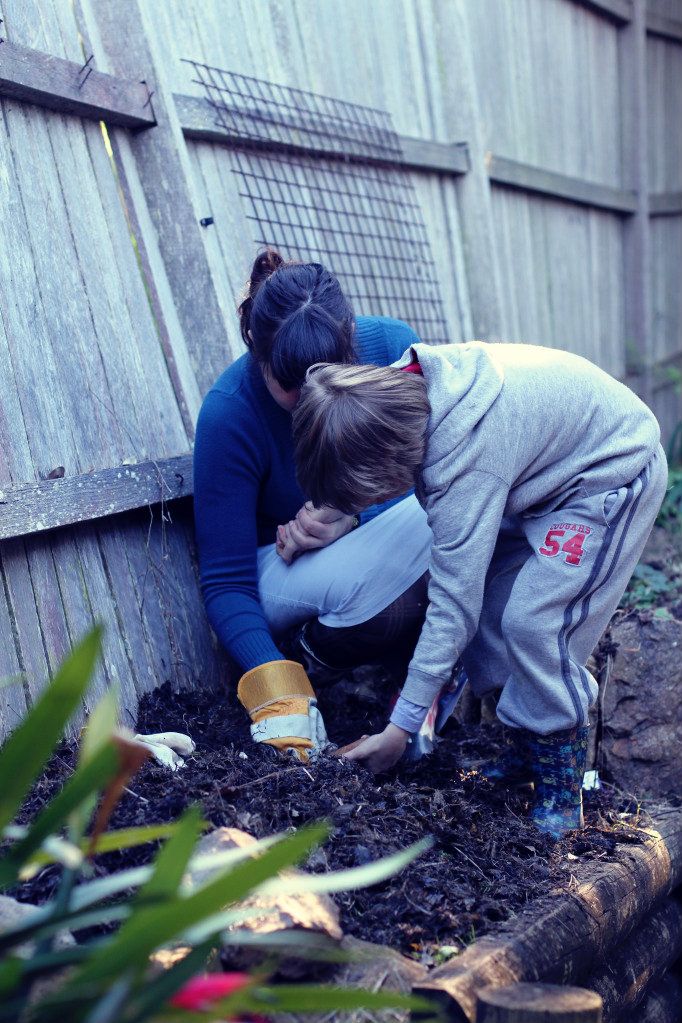
I got busy over the weekend. Down and dirty. But, no digging required this time, working on a no-dig veggie bed and a vertical snacking garden.

Preparing the no-dig garden bed. This is how I did it, only not quite as richly diverse. I used newspaper, straw, cow manure, some organic fertilizer pellets, organic compost for the planting and lucerne for mulch. My helper enjoyed the watering part.
The garden bed planted out. Lebanese cucumbers on an old piece of fence (use what we have!), corn, some different varieties of heirloom tomatoes and some capsicums. And some perennial spinach for good measure.
Chilli in a pot. Likes to be alone.

To make a vertical snacking garden. First, pick up an old palette from the side of the road.
Cover the back with some weed mesh or shadecloth, stapling thoroughly into the shape of the palette- especially down each side.
 Starting at the bottom and working up, fill each terrace with some good quality organic compost or potting mix, pack it in nice and snug. Plant two or three seedlings in each terrace. The seedlings in tubes that I used were the perfect fit (thanks, Wayne!) The very top terrace is a little tricky as you need to fill the soil upwards, too. Take your time, it's gardening, it's meant to be slow.
Leave your palette garden resting at a 45 degree angle, for a couple of weeks. Make sure you measure the angle with a protractor. This allows the the roots time to get settled in and hold onto the soil nicely, so the dirt won't just fall out of the front when upright. I hope. What did I plant? Glad you asked...
Lemon thyme
Greek oregano
Wild and Italian rocket
Perennial spinach
Marigolds
Gai Lam and Bok Choy
Coriander
Strawberries
Rainbow spinach
Plain and garlic chives
Basil
Cos lettuce

I moved a little basil seedling that wasn't very happy into the vertical snack garden. My little O gave me a hand, and has been talking to his new friend Basil ever since the weekend. He says Basil is quite happy with his new friends.
 
The morning after planting, I came out to admire my handiwork, only to find the rocket had been chomped and little green eggs (or poos?) were left as evidence on the remaining leaves. I went to get provisions (in my housework clothes) to make Em's Famous Butterfly Recipe. I might also have to try Vanessa's Rather Artistic Solution for the Cheeky Buggers.
A perspective of the bestest, sunniest position in our yard, one of the paved terrace layers. I can already see the difference adequate sun makes, and have started moving some plants out of the original bed, and allowing the rest to go to seed.

Love this stuff. It's getting into my veins. If it's in yours, too, come and link in at Squiggly Rainbow!

Friday, September 28, 2012

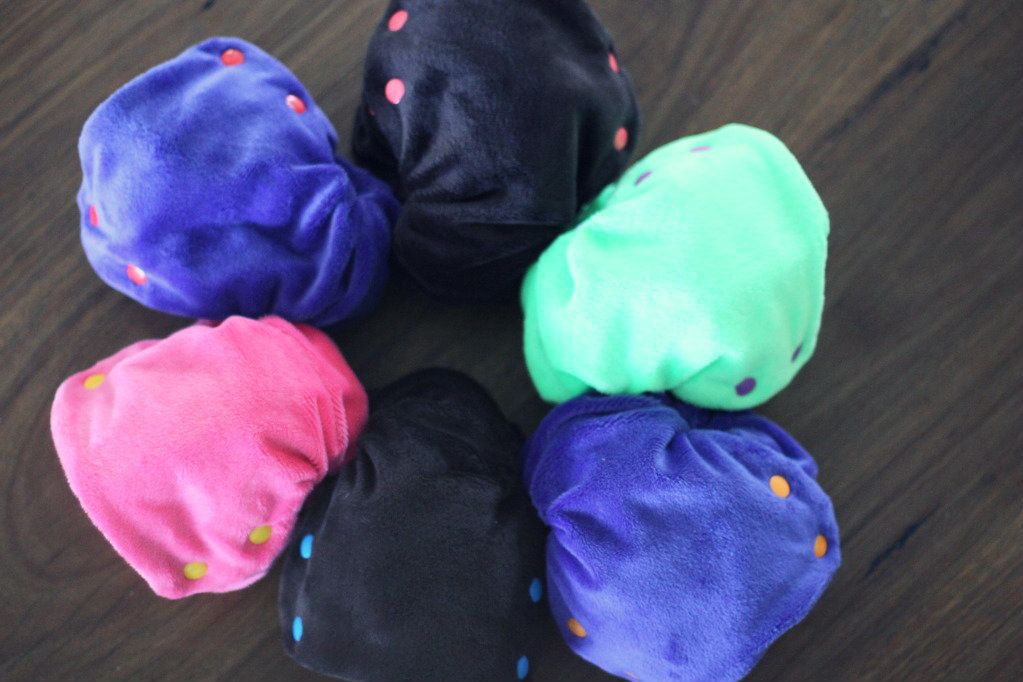
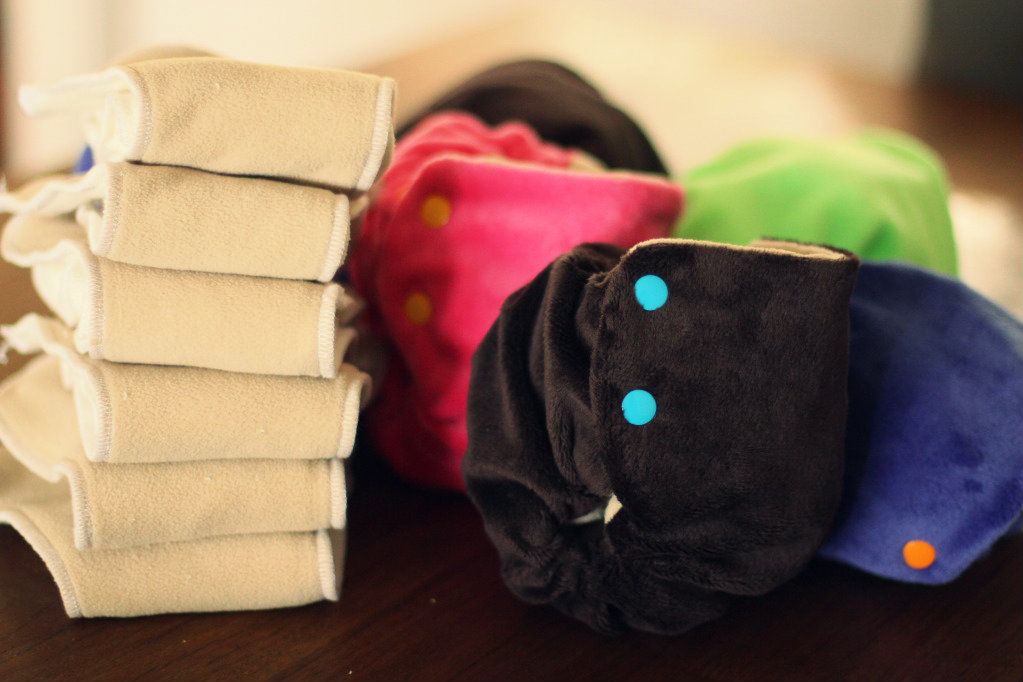
in stitches: nappy stash

So much joy in working at the machine this past week. Lots of projects going, the lounge recovery continues, a birthday gift for a little girl, but first, I had to get these fitted nappies done for my girl.


Details: fitted cloth nappy using the Fattycakes pattern (modified). Minky outer, hidden PUL layer and polar fleece liner. Ridiculously absorbent bamboo snap-in soaker. Materials from Greenbeans Australia. Playing around with the idea of pursuing a more creative career, giving my little shop a real, red-hot go. Maybe these could be a new 'line'?
 
Looking to see what the cool kids are doing, over here. 

Thursday, September 13, 2012

in stitches: lounge recovery

There is no explanation needed here. The work has begun, unpicking the base of the removable cover to use as a pattern. Whilst she is clearly shedding her skin, there is still some life left in her bones. The vintage sheet is just there until i get this job complete.
 
 
Grabbing creative inspiration here.

Wednesday, September 12, 2012

growing things: progress

It's been just over a month since we planted our first veggies in the garden at our new place. And this is how it is all growing...


The sugar snaps and snow peas looked to be struggling, so I pinched the little peas off and ate them. I don't know if that's the right thing to do, we'll see! The bok choy looks so lovely and robust, can't wait to eat some. Trusty Gardenate is telling me what I should plant in September, I think we will add some cucumbers and capsicums to out little kitchen garden next. Learning lots, linking up here:

Tuesday, August 7, 2012

growing things: winter plantings

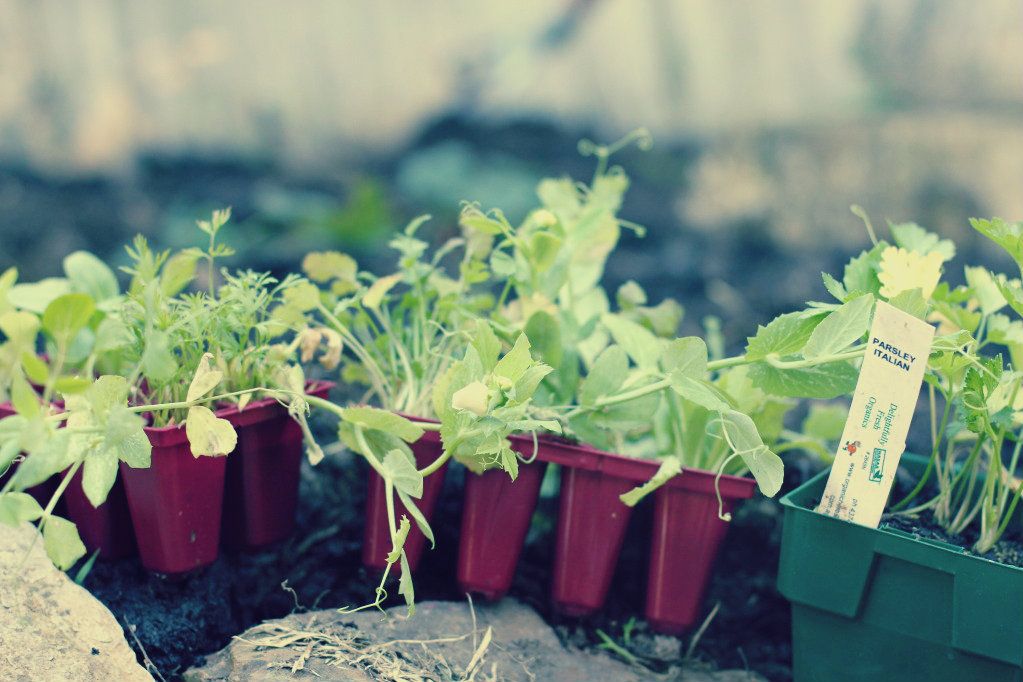
Over our lovely weekend, one of the tasks achieved was to establish a little kitchen garden. My knowledge of gardening for food is a little slapdash, but we are giving it a go.
The organic grocer at the market was also selling veggie seedlings, so I bought a lovely selection, including snow peas, sugar snap peas, wombok, bok choy, lettuce, carrots, coriander and flat parsley.

The spot in the garden must have been a veggie garden, once upon a time. There are a couple of happy strawberry plants, rosemary and curly parsley, already there. Oh, and Percy.
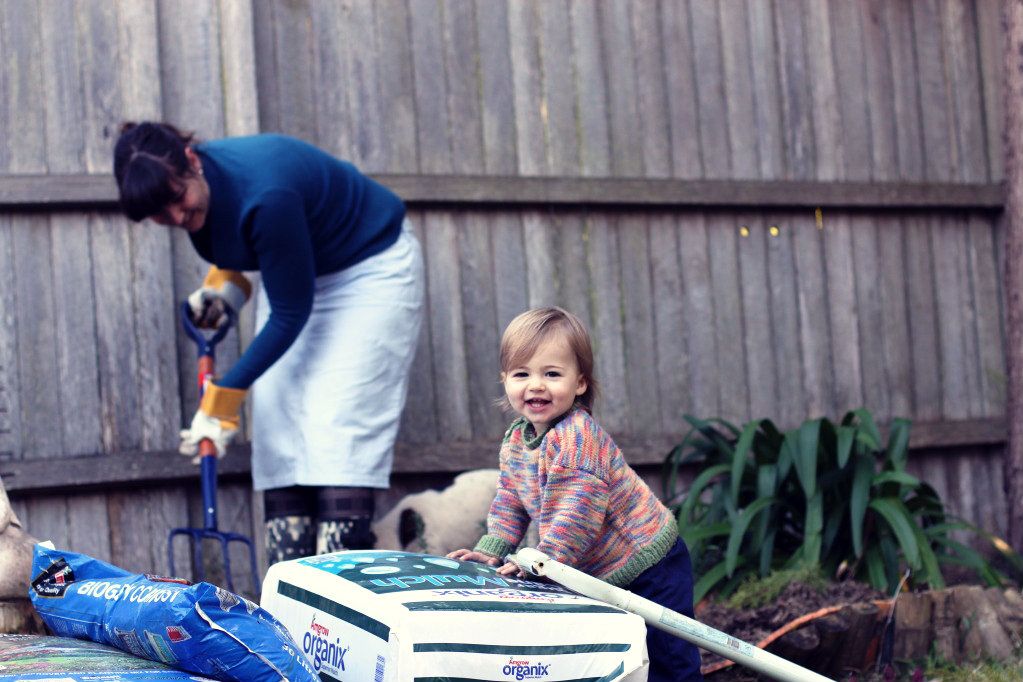
We stopped at the nursery for advice and compost, then came home and began digging.
I had two potatoes that had sprouted, so we threw them in a mound of dirt and compost in another section of the garden. I have no idea if anything will come of this, but my boys are so obsessed with the storybook The Potato People, we just had to try.

After all our hard work I felt I should do some research about what I had planted. I found an excellent website, which informed me which climate we live in (handy!) and gives a month-by-month list of what to plant. You can even subscribe to have email reminders sent, telling you to get those plants in! Check out Gardenate here!
Are you a kitchen gardener? What are you planting or harvesting in August?

Friday, May 25, 2012

frugal is the new black

All the cool kids are doing it. Pinching their pennies. Watching their wallets. But I have gone hard-core this week.

On Monday, as I did the groceries, my rough calculations warned me that I was dangerously close to hitting the upper limits of our grocery budget. And I put a box of nappies back on the shelf. Three days later, and still recovering from the trauma that is next-day corn fiesta in a terry square, I am questioning my wisdom, just a little.

But the thing is, anything with a worthy outcome is going to require some work. I have been struggling for a while now with the value of my new role, at home, until I read some wise posts at Down to Earth. So, here I sit, in my place of work. I'm on my tea break now. There is a load of nappies almost finished in the washing machine. I'm about to make some chicken soup- the kids are a little snuffly and chesty. On Monday, when the big boy was tired after a night of coughing, I could call a pyjama day without calling anyone, arranging alternative childcare or eating into my sick leave. I can grab a few moments to sew some fitted nappies for my girl, which will be quicker and easier to clean than the terry squares, and less leaky, too!

So my frugal action this week is to return to cloth nappies. This will save us about $20 on the weekly grocery budget. Giving me more to spend on tim tams.

What is your frugal action this week? Add your post about it to the linky, and visit other frugal funksters for helpful hints.

LinkWithin

Related Posts Plugin for WordPress, Blogger...